
How to Conduct the Exterior Inspection
What to bring: A small magnet, a flashlight, and your phone. Nothing else required.
Where to do it: Natural daylight is mandatory. Dealership fluorescent lighting is designed to flatten surfaces and hide paint inconsistencies. If you are at a dealership, ask to move the car outside. If a seller refuses, treat the refusal as a warning sign.
How to move around the car: Work in a single direction — clockwise or counterclockwise — starting at the driver's front corner. Do not skip panels. Do not allow a salesperson to walk alongside you and redirect your attention. Work the protocol.
Time required: 15–20 minutes for a thorough exterior inspection.
Section 1: The Panel Gap Inspection
Direct answer: Inspect panel gaps by standing at each corner of the car and looking along the body lines. Factory-built vehicles have perfectly even gaps between adjacent panels. An uneven gap — tight at one end, wide at the other — is evidence of a bent frame or improperly refitted replacement panel after a collision.
Panel gaps are the single most reliable exterior indicator of collision damage, and they require no tools and no mechanical knowledge to read correctly.
How the Panel Gap Test Works
Stand at the front driver's corner of the car. Crouch slightly so you are looking along the length of the car at a low angle. Look at the gap between the hood and the front fender. It should be perfectly consistent — the same width from the front edge of the hood to the back edge where it meets the windshield.
Now move to each subsequent gap:
- Hood to fender (both sides)
- Front door to rear door
- Rear door to quarter panel
- Trunk lid to quarter panel (both sides)
- Trunk lid to rear bumper
At each gap, ask one question: is this gap perfectly even from one end to the other?
What Uneven Panel Gaps Mean
An uneven panel gap has two possible explanations: the underlying frame or structure is bent, or a panel was replaced after collision damage and was not properly aligned during reassembly.
The first explanation is worse. A bent frame means the collision was significant enough to deform the structural steel beneath the body panels. These repairs are expensive, structurally compromising, and frequently never fully correct. A car with a bent frame is a car that will never handle, align, or absorb impact the way it was designed to.
The second explanation is common and not always disqualifying. Panels get replaced. What matters is whether the replacement was disclosed, whether it was done correctly, and what caused it.
Section 2: The Paint Inspection
Direct answer: Inspect the paint in natural daylight by looking for color variation, texture differences, and overspray between panels. Factory paint is applied uniformly in a controlled environment — any panel that is a slightly different shade, sheen, or texture than its neighbors has been resprayed, indicating previous damage or repair.
The Color Consistency Check
Walk the full perimeter of the car in natural light. Look at the paint color on adjacent panels. Factory paint matches perfectly because the car is painted as a complete assembly. A respray — even a high-quality professional one — never matches the original exactly. Look specifically at:
- The transition between the hood and the front fenders
- The transition between door panels
- The transition between the rear quarter panel and the trunk lid
Color differences are sometimes subtle — a slightly different shade, a slightly warmer or cooler tone, a slightly different level of metallic flake depth. Trust your eye. If something looks slightly off, it probably is.
The Texture Check
Stand at the front of the car and look down the length of the hood and roof at a shallow angle. Factory paint has a consistent, smooth surface. Respray paint, even when the color matches well, often has a slightly different texture — more orange-peel texture, a slightly different gloss level, or visible brush or spray marks in the clear coat.
The Tape Line Check
Open every door and examine the door frame — the painted metal surface exposed when the door is open. Run your finger along the rubber weatherstripping that lines the door frame.
Factory paint is applied before the rubber is installed — the edge between paint and rubber is perfectly clean. A respray is done after assembly, requiring the painter to mask the rubber with tape. When the tape is removed, a microscopic ridge of paint buildup remains at the tape line.
If you feel a ridge of paint buildup on or behind the rubber, or see paint on the black rubber surface itself, the car was resprayed after leaving the factory. This is not automatically disqualifying — it means a panel was repainted, which means a panel was damaged.
The Overspray Check
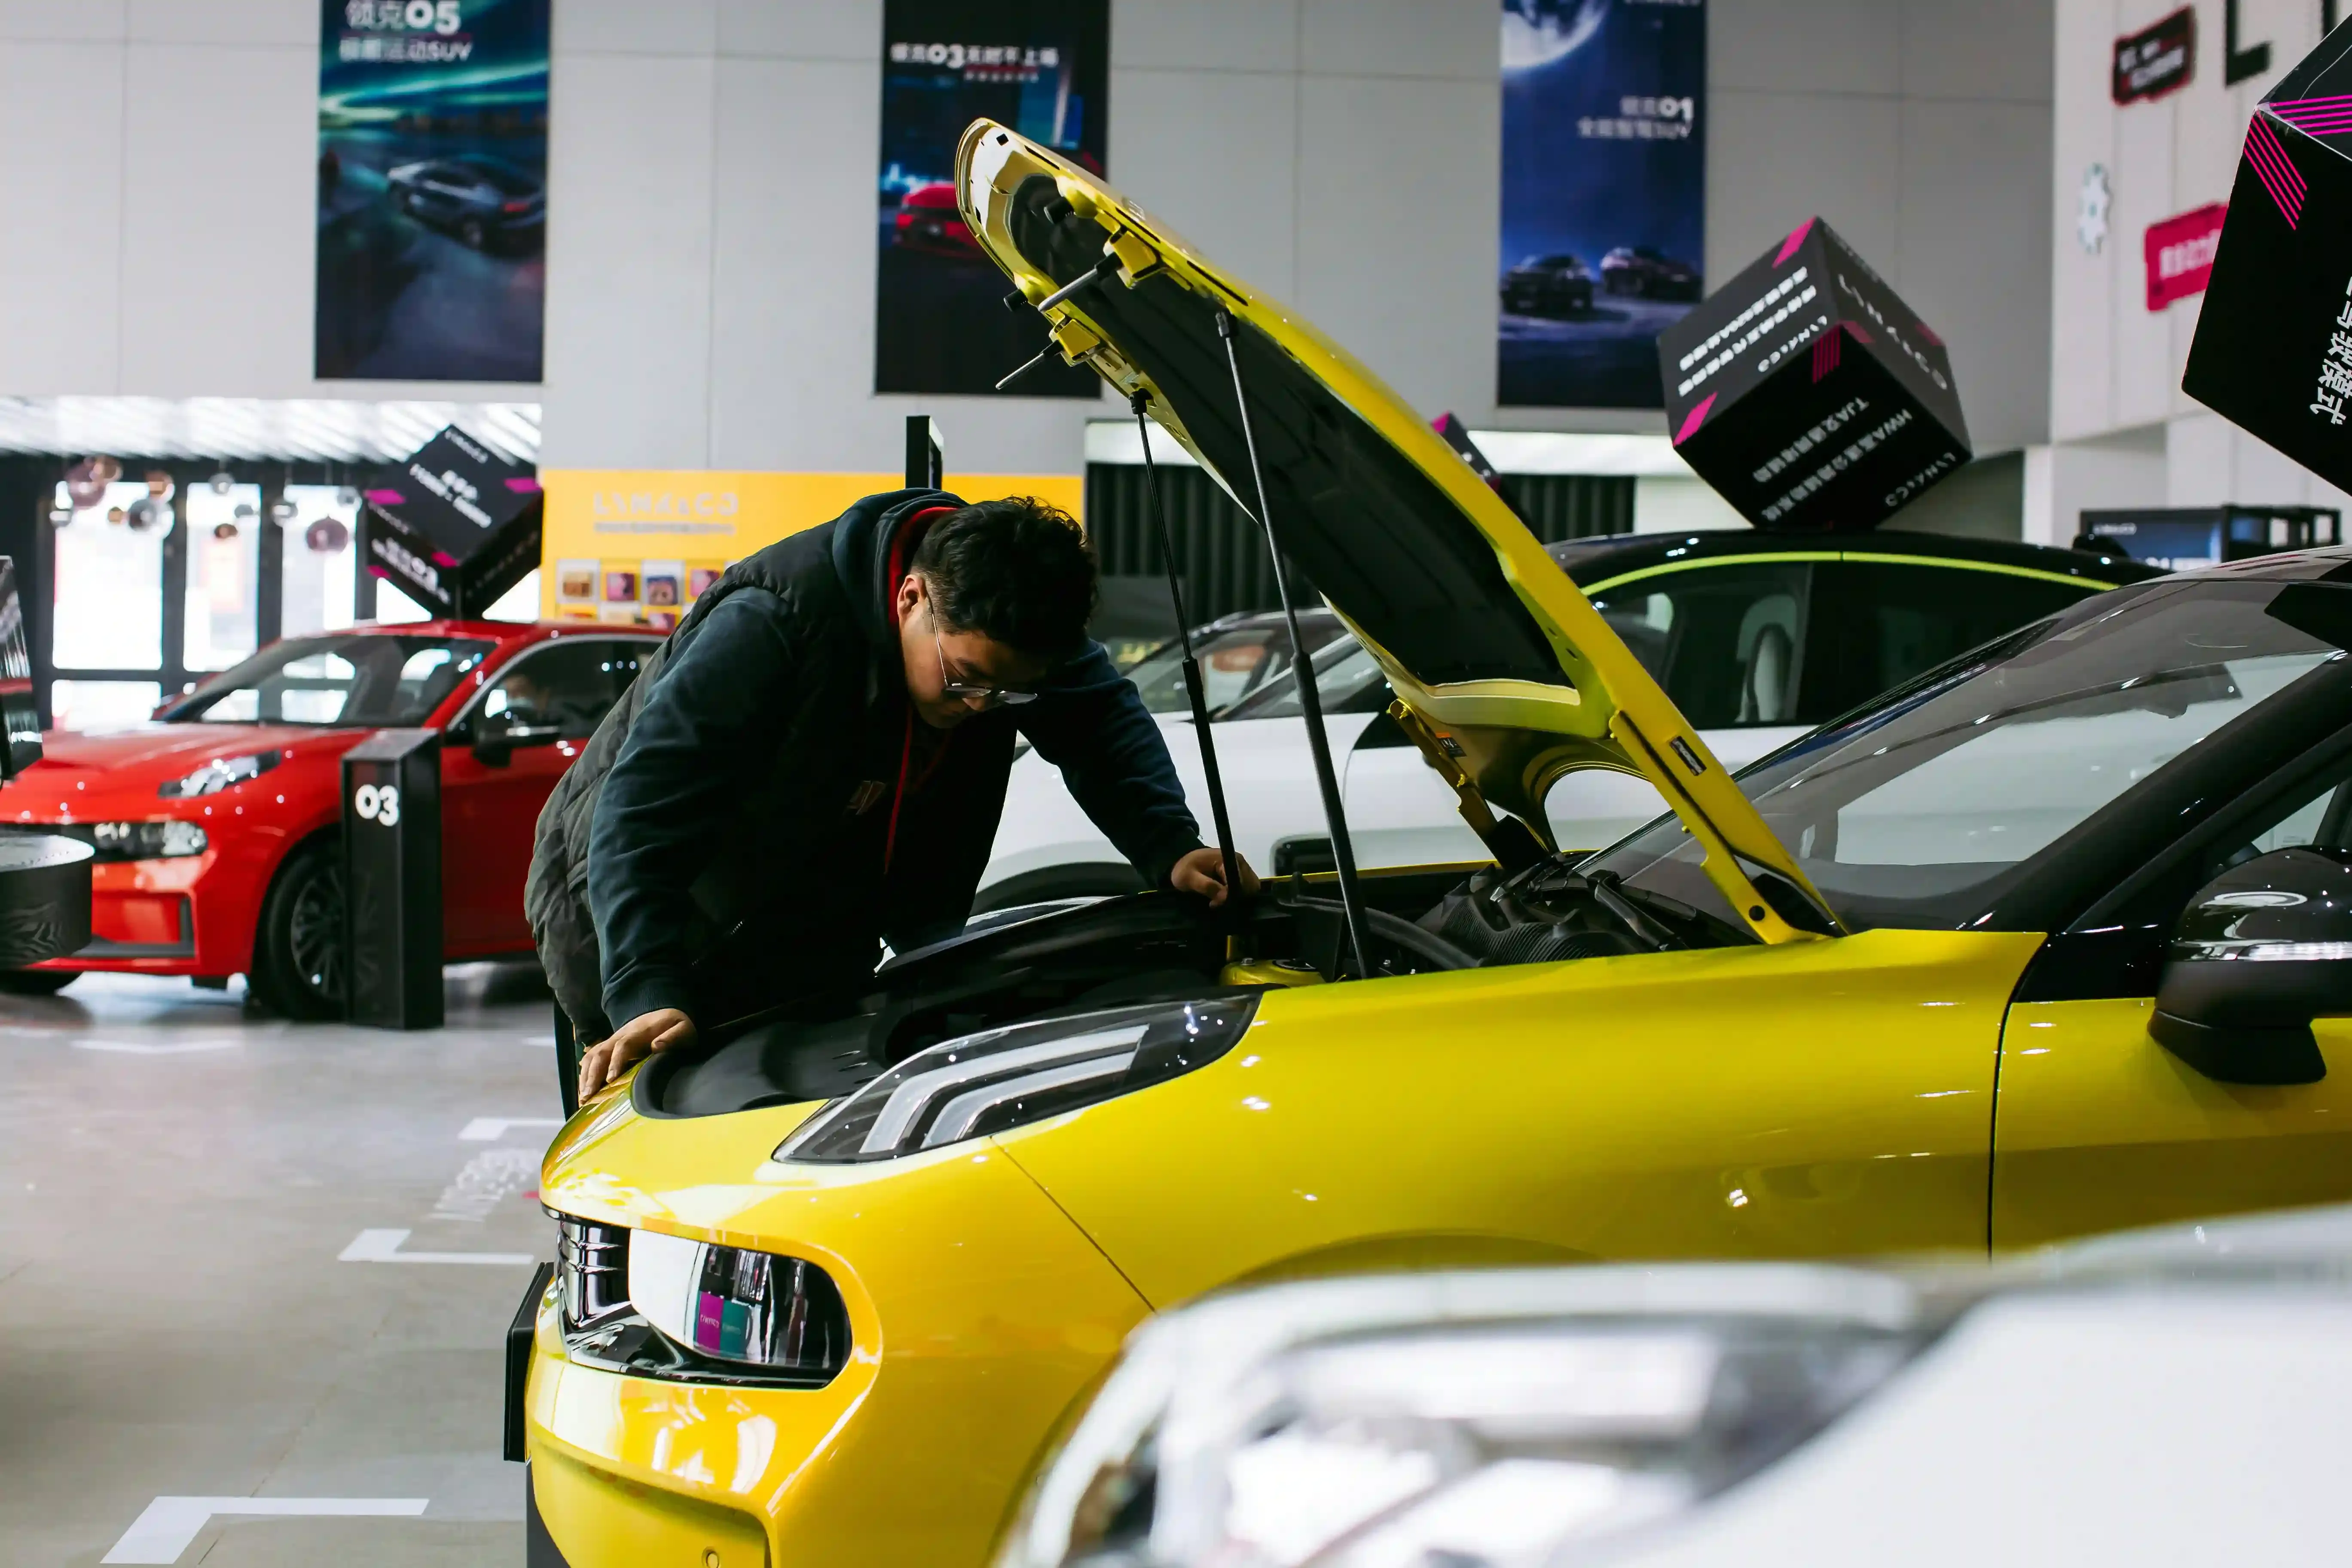
Open the hood and look at the inner edges of the fenders — the surfaces that face the engine bay. Look at the inside of the door jambs. Look at the underside of the trunk lid. These are surfaces that factory paint covers uniformly because the car is painted as an assembly.
A painter respraying a single panel masks these surfaces with tape and paper. Overspray — fine misting of paint that lands just beyond the masked edge — is often visible on these inner surfaces when a panel has been resprayed.
Section 3: The Bondo and Body Filler Check
Direct answer: Check for Bondo (body filler) by slowly running a small magnet across each body panel. Steel panels hold the magnet firmly. Body filler is non-metallic — the magnet will noticeably weaken or release entirely over filled areas, revealing where collision damage was patched rather than properly repaired.
Why Body Filler Gets Used
When a vehicle suffers collision damage, the proper repair involves removing the damaged panel, straightening the underlying metal, and replacing or refinishing the panel correctly. The improper repair — the one that scammers and low-cost body shops use — involves spreading body filler (commonly called Bondo) over the damaged area to create a smooth surface without addressing the underlying structural damage. It looks correct on the surface. The magnet reveals what is underneath.
How to Run the Magnet Test
Use a small, lightweight magnet — a refrigerator magnet works fine. Hold it lightly against the body panel and slide it slowly across the surface.
Over bare steel, the magnet maintains consistent grip. Over aluminum panels (increasingly common on modern vehicles), the magnet will not grip at all regardless of filler — note which panels on the specific vehicle are aluminum before drawing conclusions.
Over body filler, the magnet noticeably weakens. Over a significant thickness of filler, it may release entirely.
Test every major panel: hood, both front fenders, both doors, both rear quarter panels, trunk lid. Pay particular attention to the lower portions of panels where collision and parking damage concentrate, and to the areas around wheel arches where rust repair with filler is common.
The Thickness Problem
Body filler has a practical thickness limit of approximately 6mm — beyond that, it cracks and fails under thermal expansion and contraction. A car with a thick layer of Bondo over significant damage will develop visible cracking in the paint within one to three years. This is not a minor cosmetic issue — it means a structural repair was deferred and the damage is still underneath.
Section 4: The Rust Inspection
Direct answer: Check for rust by examining the wheel arches, door sills, rocker panels, floor pan visible through the door opening, and any area where two metal surfaces meet. Surface rust on body panels is cosmetic. Structural rust on the frame, floor pan, or subframe is a reason to walk away.
Where Rust Hides
Rust develops wherever moisture is trapped against metal — areas that are not visible during a casual inspection and not reached by a detail job.
The highest-risk areas:
Wheel arches: The inside lip of the wheel arch accumulates road debris and moisture. Lift the edge of the arch liner (if present) and look at the metal behind it.
Door sills and rocker panels: The horizontal metal beneath each door. Crouch down and look at the full length of the rocker panel on both sides.
The floor pan edge: With each door open, look at the floor pan where it meets the door sill. In a rusted car, this junction shows bubbling paint or visible rust perforation before the damage is obvious from outside.
Lower door corners: The bottom corners of each door trap water and are a classic rust origin point on older vehicles.
Spare tire well: If accessible, lift the trunk floor to check the spare tire well. Rust here indicates either flood history or a chronic moisture problem.
Section 5: The Glass and VIN Inspection
Direct answer: Inspect all glass for cracks and replacement indicators, and verify the VIN plate on the dashboard against the VIN on the door jamb sticker. Mismatched VINs are a definitive indicator of VIN cloning — a scam involving stolen vehicles with counterfeit identification.
The Glass Check
Examine every window. Original glass has a manufacturer code and date etched into a corner of each pane — typically the bottom corner of the windshield and each side window. All original glass should carry matching manufacturer markings from the same approximate production date as the vehicle.
Replacement glass will have a different date code or a different manufacturer code. This is not automatically disqualifying — windshields are replaced for legitimate reasons constantly. But replacement glass on a door or rear quarter window with no explanation, or glass with date codes significantly newer than the vehicle's manufacture year, warrants investigation.
The VIN Verification
Find the VIN plate on the driver's side dashboard, visible through the windshield. Write it down or photograph it. Then check three additional locations:
- The door jamb sticker on the driver's door — this is a federally required label that includes the VIN
- The engine block — most manufacturers stamp the VIN on the block itself
- The vehicle history report you ran before the inspection
All four VINs must match exactly. A single character discrepancy between any two of them means you are looking at either a clerical error (possible) or a cloned vehicle (more dangerous). Either way, do not purchase the vehicle until the discrepancy is fully explained in writing.
Section 6: The Hail Damage Check
Direct answer: Check for repaired hail damage by looking down the length of flat panels — hood, roof, trunk lid — at a shallow angle while finding the reflection of a straight line. Hail dents and Paintless Dent Repair leave slight surface distortions that appear as waviness in straight-line reflections.
The Reflection Test
Find a straight line in your environment — a light fixture, a building edge, a door frame. Look at its reflection in the flat surface of the hood or roof at a shallow angle. Move slowly along the panel while watching the reflected line.
In an undamaged panel, the reflection is perfectly straight. Hail dents — even ones repaired with Paintless Dent Repair — leave microscopic surface distortions that cause the reflected line to appear wavy, rippled, or slightly kinked at the repair location.
Buying a Car with Hail Damage: How to Spot It, Price It, and Decide
Hail damage is common and often hidden. Learn how to detect poor repairs, spot missed dents, and decide if a hail-damaged car is worth buying.

How to Identify Flood Damage in a Used Car: The 7-Step Inspection Protocol
Flood-damaged cars may look fine but hide corrosion and costly failures. Learn risks, signs, and why a VIN check is critical before buying.
What to Do With Your Findings
A clean exterior inspection — no uneven gaps, consistent paint, no body filler, no rust perforation, matching VINs — means you have cleared the first phase of the physical inspection. Proceed to the engine and mechanical inspection.
One or two minor findings — a small paint inconsistency on a single panel, light surface rust on the rocker panels, one replaced window — are not automatic disqualifiers. They are negotiating points. Document them precisely and factor the repair or cosmetic cost into your offer.
Multiple findings concentrated around the same area of the car — uneven panel gaps, resprayed paint, and Bondo on the same front corner — tell a coherent story: this corner was in a significant collision that was cosmetically repaired but not structurally disclosed. Walk away.
Any VIN discrepancy is a walk-away finding, full stop.
How to Inspect a Used Car Engine and Transmission: The Complete Under-Hood Guide
Engine inspection reveals leaks, wear, and costly failures. Learn how to assess condition and avoid expensive repairs before buying.