How to Use This Checklist
Bring: A flashlight, a small magnet, a quarter, and your phone. Nothing else is required.
When to arrive: Early enough to see the car started cold from the previous night. A warm engine hides problems a cold start reveals.
Time required: 45 minutes to one hour for a thorough inspection. If a seller pressures you to move faster, slow down — urgency is a sales tactic.
The rule: If any single item below raises a serious concern, do not talk yourself out of it. Flag it. Investigate it. Walk away if necessary. The cost of a missed red flag is always higher than the cost of a lost deal.
Phase 1: The Exterior Inspection
Direct answer: Inspect the exterior by examining panel gaps, paint consistency, body lines, glass, and underbody visible from outside the vehicle. The goal is to find evidence of collision repair, flood damage, or structural damage that was cosmetically concealed.
Work around the car in a single direction — clockwise or counterclockwise — so you do not miss a panel.
Body and Paint
1. The Panel Gap Test Stand at each corner of the car and look along the body lines. Gaps between panels — hood to fender, door to door, trunk lid to quarter panel — should be perfectly even from top to bottom. An uneven gap means the frame beneath is bent or the panel was replaced and improperly fitted after a collision.
2. The Bolt Check Open the hood and examine the bolts holding the fenders to the frame. Factory paint covers these bolts uniformly because the car is painted as an assembly. If the bolt heads show bare metal, chipped paint, or look newer than surrounding surfaces, that panel was removed and replaced after a collision.
3. The Paint Consistency Check Look at the car in natural light, not under dealership fluorescents. Walk the perimeter looking for color variation between panels. Factory paint is applied in a single controlled environment — it matches perfectly. Respray paint, even good respray paint, never matches the original exactly.
4. The Tape Line Check Open every door and run your finger along the rubber weatherstripping in the door frame. Factory paint is applied before the rubber is installed — the edge is clean. A respray is done after assembly, requiring the painter to mask the rubber with tape. A ridge of paint buildup on or behind the rubber means the car was resprayed.
5. The Magnet Test Run a small magnet slowly across body panels, especially the hood, doors, and quarter panels. Steel panels hold a magnet firmly. Bondo (body filler used to smooth collision damage) is non-metallic — the magnet will release or feel significantly weaker over filled areas.
6. The Glass Inspection Examine every window for cracks, chips, and the date code etched into the corner of each pane. All original glass should have matching manufacturer markings. Replacement glass will have a different date or manufacturer code.
Replacement glass is not necessarily disqualifying — windshields get cracked — but an undisclosed collision may be the explanation. Cross-reference with the vehicle history report.

Used Car Exterior Inspection: How to Spot Accidents, Rust, and Bondo
A used car exterior inspection helps uncover hidden damage, poor repairs, and rust. Learn how to spot issues dealers may try to hide before buying.
Phase 2: The Engine and Mechanical Inspection
Direct answer: Inspect the engine by performing a cold start test, checking fluid levels and conditions, examining belts and hoses, and looking for evidence of leaks, coolant mixing, or deferred maintenance.
Engine Bay
7. The Cold Start The most important moment of the entire inspection. Watch and listen as the engine starts from cold.
- Blue or grey smoke from the exhaust on startup: the engine is burning oil. Significant wear.
- White smoke that does not dissipate within 30 seconds: coolant is entering the combustion chamber. Potential head gasket failure.
- Rough idle that does not smooth out within 60 seconds: engine misfires. Requires diagnosis.
- Any knocking, ticking, or rattling: multiple possible causes, all expensive.
8. The Oil Cap Test Remove the engine oil cap. Look at the underside of the cap and the opening beneath it. In a healthy engine, this surface is dark and slightly oily. In an engine with a blown head gasket or cracked block, coolant mixes with the oil — producing a white, milky, or frothy residue that looks like a cappuccino.
9. Oil Level and Condition Pull the dipstick, wipe it, reinsert it fully, and pull it again. The oil level should be between the min and max marks. The color should be amber to dark brown — black oil indicates overdue maintenance. Milky or foamy oil on the dipstick confirms coolant contamination.
10. Coolant Level and Condition Check the coolant reservoir — do not open the radiator cap on a warm engine. Coolant should be at the marked level and be green, orange, or pink depending on type. Brown or rusty coolant indicates the cooling system has not been maintained. An empty reservoir on a car that has supposedly been serviced is a warning sign.
11. Belts and Hoses Squeeze the major hoses — radiator hoses, heater hoses. They should feel firm and flexible, not hard and brittle or soft and spongy. Inspect visible belts for cracking, fraying, or glazing. A worn serpentine belt is a $100–$200 repair. A snapped one leaves you stranded.
12. The Leak Check After the engine has run for a few minutes, look underneath the car and at the ground where it was parked. Fresh oil spots or coolant puddles indicate active leaks. A small oil seep from an aging gasket is common and manageable. A significant drip is not.

How to Inspect a Used Car Engine and Transmission: The Complete Under-Hood Guide
Engine inspection reveals leaks, wear, and costly failures. Learn how to assess condition and avoid expensive repairs before buying.
Phase 3: Interior and Electronics Inspection
Direct answer: Inspect the interior for signs of flood damage, airbag deployment, deferred maintenance warnings, and evidence of heavy use or abuse. Test every electronic system before negotiating.
13. The Smell Test Before you look at anything, close all windows and doors, let the car sit in direct sun for ten minutes, then open the door and smell the air that escapes. Mildew, must, or an aggressively "fresh" air freshener masking an odor are all indicators of flood damage. Your nose is more sensitive than any visual check.
14. The Seat Rail Audit Slide the front seats all the way forward. Examine the metal seat rails bolted to the floor. In a car that has never flooded, these are clean metal. In a flood car, they will show rust, white mineral deposits, or corrosion — the one area a detailer cannot reach.
15. Carpet and Padding Pull back a corner of the floor mat on both front and rear driver's side. Look at the carpet padding underneath. Flood cars retain moisture in the padding long after the carpet surface dries. Stiff, discolored, or waterline-marked padding is a definitive flood indicator.
16. Dashboard Warning Lights Turn the key to the accessory position before starting the engine. Every warning light should illuminate briefly as a bulb test, then go out when the engine starts. A warning light that does not illuminate during the bulb test has likely had its bulb removed to hide an active fault code.
17. Airbag Indicators The SRS (airbag) warning light follows the same pattern — on briefly during startup, then off. An airbag light that stays on means the airbag system has a fault. This can range from a disconnected sensor to a previously deployed airbag that was never properly replaced.
18. Electronics Test Test every electronic system in sequence: all windows up and down, all locks, both mirrors (fold and adjust), every climate control setting, every USB and charging port, the infotainment system, backup camera, heated seats, sunroof if present. Do not assume anything works until you have tested it. Electronic repairs in modern vehicles are expensive.
19. Odor Check for Smoke A car used by a smoker retains the smell in the headliner, seat fabric, and HVAC system. This is not a safety issue but it is a legitimate negotiating point — professional smoke remediation costs $200–$500 and is rarely fully effective.
Used Car Interior Inspection: The Complete Guide to What the Cabin Reveals
Interior condition reveals wear, safety issues, and hidden damage. Learn what to check to avoid risk and assess true value before buying.
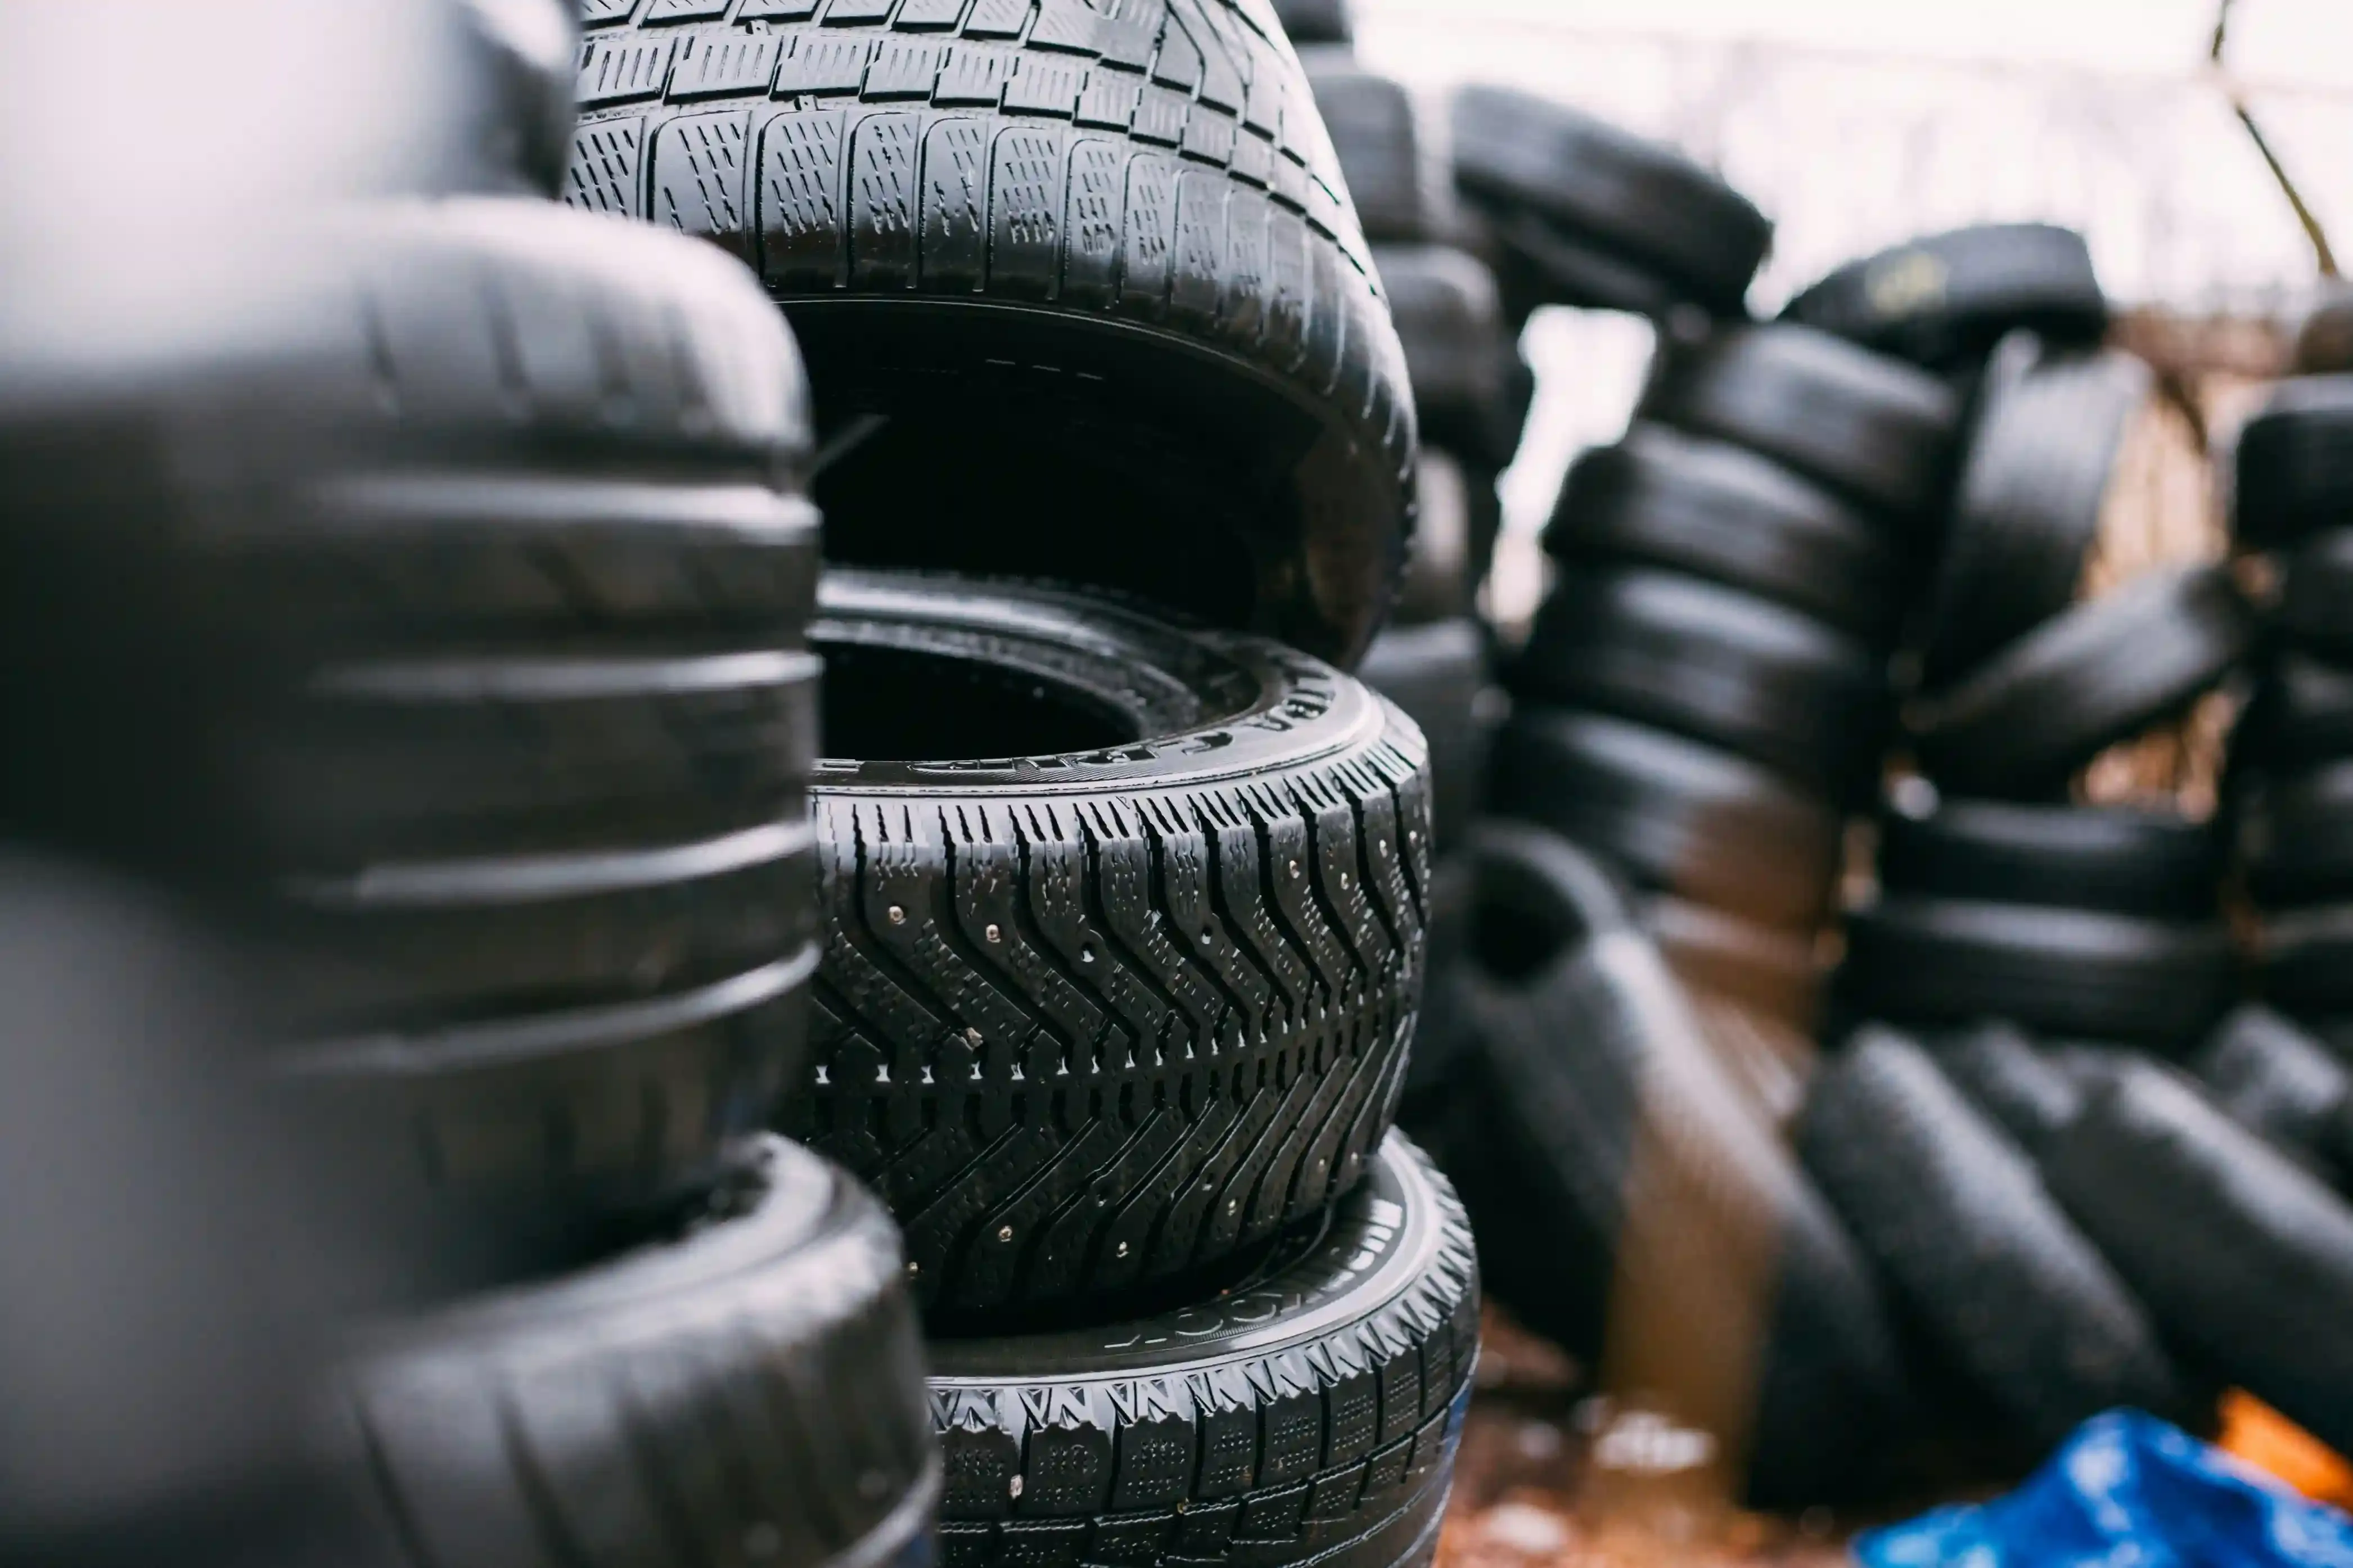
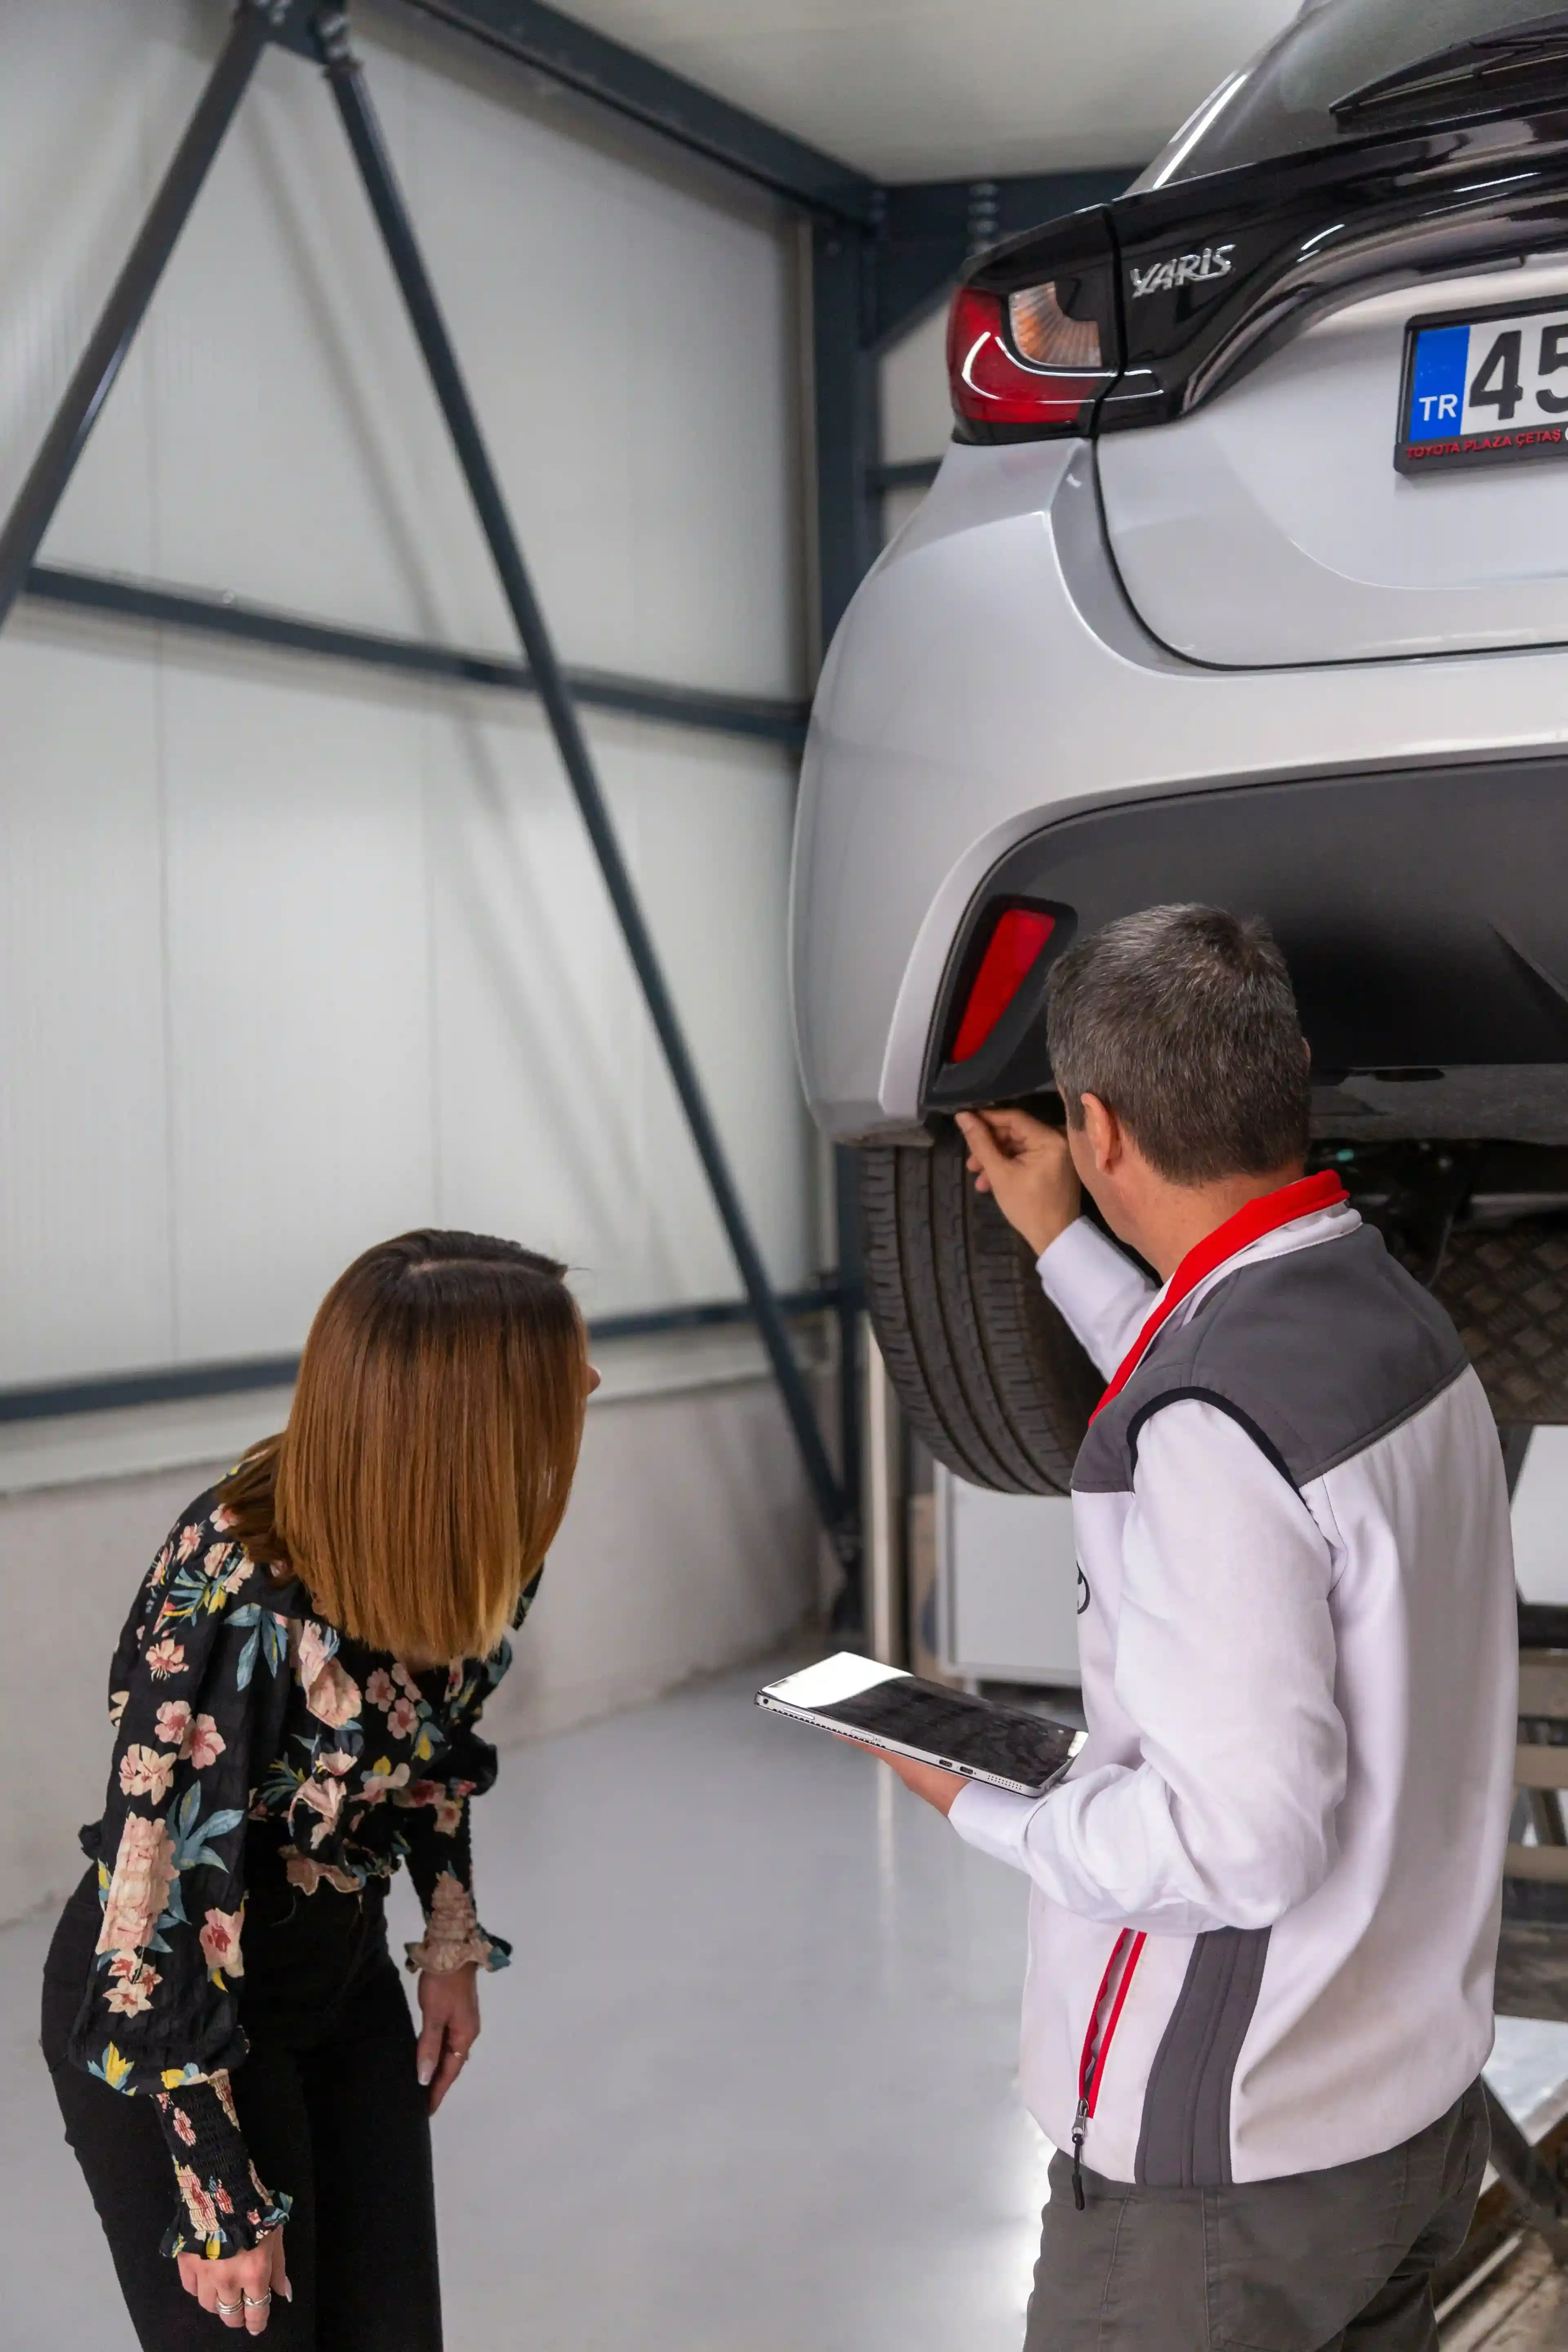
Phase 4: Tires, Brakes, and Undercarriage
Direct answer: Inspect tires for tread depth, age, and uneven wear patterns that indicate alignment or suspension problems. Check brake pad depth through the wheel spokes. These two systems directly affect safety and represent significant near-term costs if deferred.
20. Tread Depth — The Quarter Test Insert a quarter into the tread groove with Washington's head pointing down. If the top of Washington's head is visible, the tire has less than 4/32" of tread remaining and needs replacement within a year. Use a penny for a more urgent check — if Lincoln's head is fully visible, the tire is legally worn out.
21. The Tire Date Code Find the DOT number on the sidewall of each tire. The last four digits are the manufacture date — first two digits are the week, last two are the year. A code reading 2419 means the 24th week of 2019. Tires older than six years are considered expired regardless of tread depth — rubber oxidizes and hardens internally, dramatically increasing blowout risk.
22. Uneven Tread Wear Look at each tire from the front. Tread should wear evenly across the full width of the tire. Wear concentrated on the inner or outer edge indicates a wheel alignment problem or worn suspension components — repairs that range from $100 for an alignment to $1,500 for suspension work.
23. Brake Pad Depth Look through the wheel spokes at the brake caliper and rotor. The brake pad is the friction material clamped against the rotor — most wheels allow you to see its thickness. New pads are approximately 10–12mm thick. Pads below 3mm need immediate replacement.
24. Rotor Condition While inspecting the pads, look at the rotor surface. It should be smooth and relatively flat. Deep grooves, significant scoring, or a lip around the outer edge of the rotor indicates the pads have been run too long and the rotors are damaged. Rotor replacement adds $150–$400 per axle on top of pad replacement.
How to Inspect Used Car Tires: The $1,000 Negotiation Chip Most Buyers Ignore
Used car tires reveal wear, driving habits, and hidden issues. Learn how to read them and use that insight to negotiate price effectively.
How to Inspect Used Car Brakes: Pads, Rotors, and Fluid
Brake inspection checks pads, rotors, and fluid for wear and safety issues. Learn to spot problems early and avoid costly repairs after buying.
Phase 5: The Test Drive
Direct answer: The test drive should be at least 20 minutes and include highway speeds, hard braking, sharp turns, and a reverse maneuver. It is the only way to identify transmission behavior, brake feel, suspension noise, and drivetrain vibration that do not appear at idle.
25. Cold Start Behavior (if not already done) If you did not see the cold start during the engine inspection, do it now. Note any rough idle, hesitation, or smoke before the engine reaches operating temperature.
26. Transmission Shifts During the first several miles, pay close attention to every gear change. Automatic transmissions should shift smoothly, promptly, and without a jolt or hesitation. A brief pause before engaging when moving from Park to Drive is acceptable in some vehicles. A significant clunk, a delay of more than one second, or a shudder during upshifts is not.
27. Highway Speed Vibration At 60–70mph, the steering wheel and floorboard should be free of vibration. A vibration that appears at highway speeds and disappears at lower speeds indicates wheel balance or tire issues. A vibration that increases with speed may indicate a bent wheel or driveshaft problem.
28. Brake Test In a safe location with no traffic behind you, apply the brakes firmly from 45mph to a stop. The car should stop in a straight line with no pulling to either side, no pulsating through the pedal, and no grinding noise. Pulling indicates uneven brake wear or a stuck caliper. Pulsating indicates warped rotors.
29. Steering Feel At low speed, turn the wheel from near lock to near lock in both directions. Listen for any clunking, grinding, or knocking from the steering system. A single quiet click at full lock is normal on front-wheel-drive vehicles. Anything louder indicates CV joint wear.
30. Suspension Noise Drive slowly over a speed bump, driveway entrance, or rough patch of road. The suspension should absorb the impact without any clunking, creaking, or knocking from beneath the car. Suspension noise indicates worn bushings, ball joints, or struts — repairs that range from $200 to $1,500 depending on what has failed.

The Used Car Test Drive Checklist: 23 Things to Assess Before You Buy
A test drive reveals issues unseen at rest. Learn how to evaluate performance, handling, and braking before buying.
The Complete 47-Item Checklist (Quick Reference)
Print or save this list and check items off as you complete them.
Exterior
- 1. Panel gaps even on all sides
- 2. Hood bolts — paint intact and consistent
- 3. Paint color consistent across all panels
- 4. Door frame weatherstripping — no paint ridge
- 5. Magnet test on all major panels
- 6. All glass original and date-matched
- 7. No rust on door sills, wheel arches, or undercarriage edges
- 8. Hail reflection test on hood and roof
- 9. Frame rails visible from front and rear — no creasing or bending
Engine Bay
- 10. Cold start — no smoke, no rough idle
- 11. Oil cap — no milky residue
- 12. Oil dipstick — correct level, no discoloration
- 13. Coolant reservoir — correct level, correct color
- 14. Belts — no cracking or fraying
- 15. Hoses — firm, not brittle or spongy
- 16. No active leaks after running for 5 minutes
- 17. No oil stain on ground under parking spot
Interior
- 18. No mildew or musty smell after sitting in sun
- 19. Seat rail tracks — no rust or white deposits
- 20. Carpet padding — not stiff, discolored, or watermarked
- 21. All dashboard warning lights illuminate and clear on startup
- 22. SRS airbag light clears on startup
- 23. All windows operate
- 24. All locks operate
- 25. Both mirrors fold and adjust
- 26. Climate control operates on all settings
- 27. All USB and charging ports functional
- 28. Infotainment system functional
- 29. Backup camera functional
- 30. Heated seats functional (if equipped)
- 31. Sunroof opens, closes, and tilts (if equipped)
- 32. No smoke odor in headliner or HVAC
Tires and Brakes
- 33. All four tires pass the quarter tread test
- 34. No tire older than 6 years (check DOT date code)
- 35. Tread wear even across full width on all four tires
- 36. Brake pads visible and above minimum thickness
- 37. Rotors smooth with no deep grooves or raised lip
- 38. Spare tire present, inflated, and with adequate tread
Test Drive
- 39. Transmission shifts smoothly through all gears
- 40. No vibration at highway speeds
- 41. Car tracks straight — no drift without steering input
- 42. Brakes stop car straight with no pulling or pulsation
- 43. No grinding or squealing from brakes
- 44. No clunking during low-speed turns
- 45. No suspension noise over bumps
- 46. No unusual engine noise at operating temperature
- 47. AC and heat reach correct temperatures
What to Do After the Inspection
A clean inspection on all 47 items is not a reason to buy the car. It is permission to proceed to the next step.
If the inspection was clean, the next step is a Pre-Purchase Inspection (PPI) from an independent mechanic — a $100–$150 professional evaluation that puts the car on a lift and checks what you cannot see: frame integrity, subframe repairs, suspension geometry, and underbody corrosion. A clean PPI on top of a clean physical inspection is the strongest buying signal you can have.
If the inspection revealed specific issues, you now have the data to negotiate. Every identified problem has a repair cost. That repair cost comes off the asking price, or the seller fixes it before you close. If the seller refuses to negotiate around documented findings, walk away.
If the inspection revealed a serious disqualifying finding — milky oil, flood damage, impossible panel gaps — do not negotiate. Walk away immediately. The right response to a serious red flag is never "how much can I get them to reduce the price." It is "this is not the car."
The Pre-Purchase Inspection: The Best $150 You Will Ever Spend
A pre-purchase inspection (PPI) is a mechanic’s check before buying. It reveals hidden issues and is the highest-value step to avoid costly surprises.