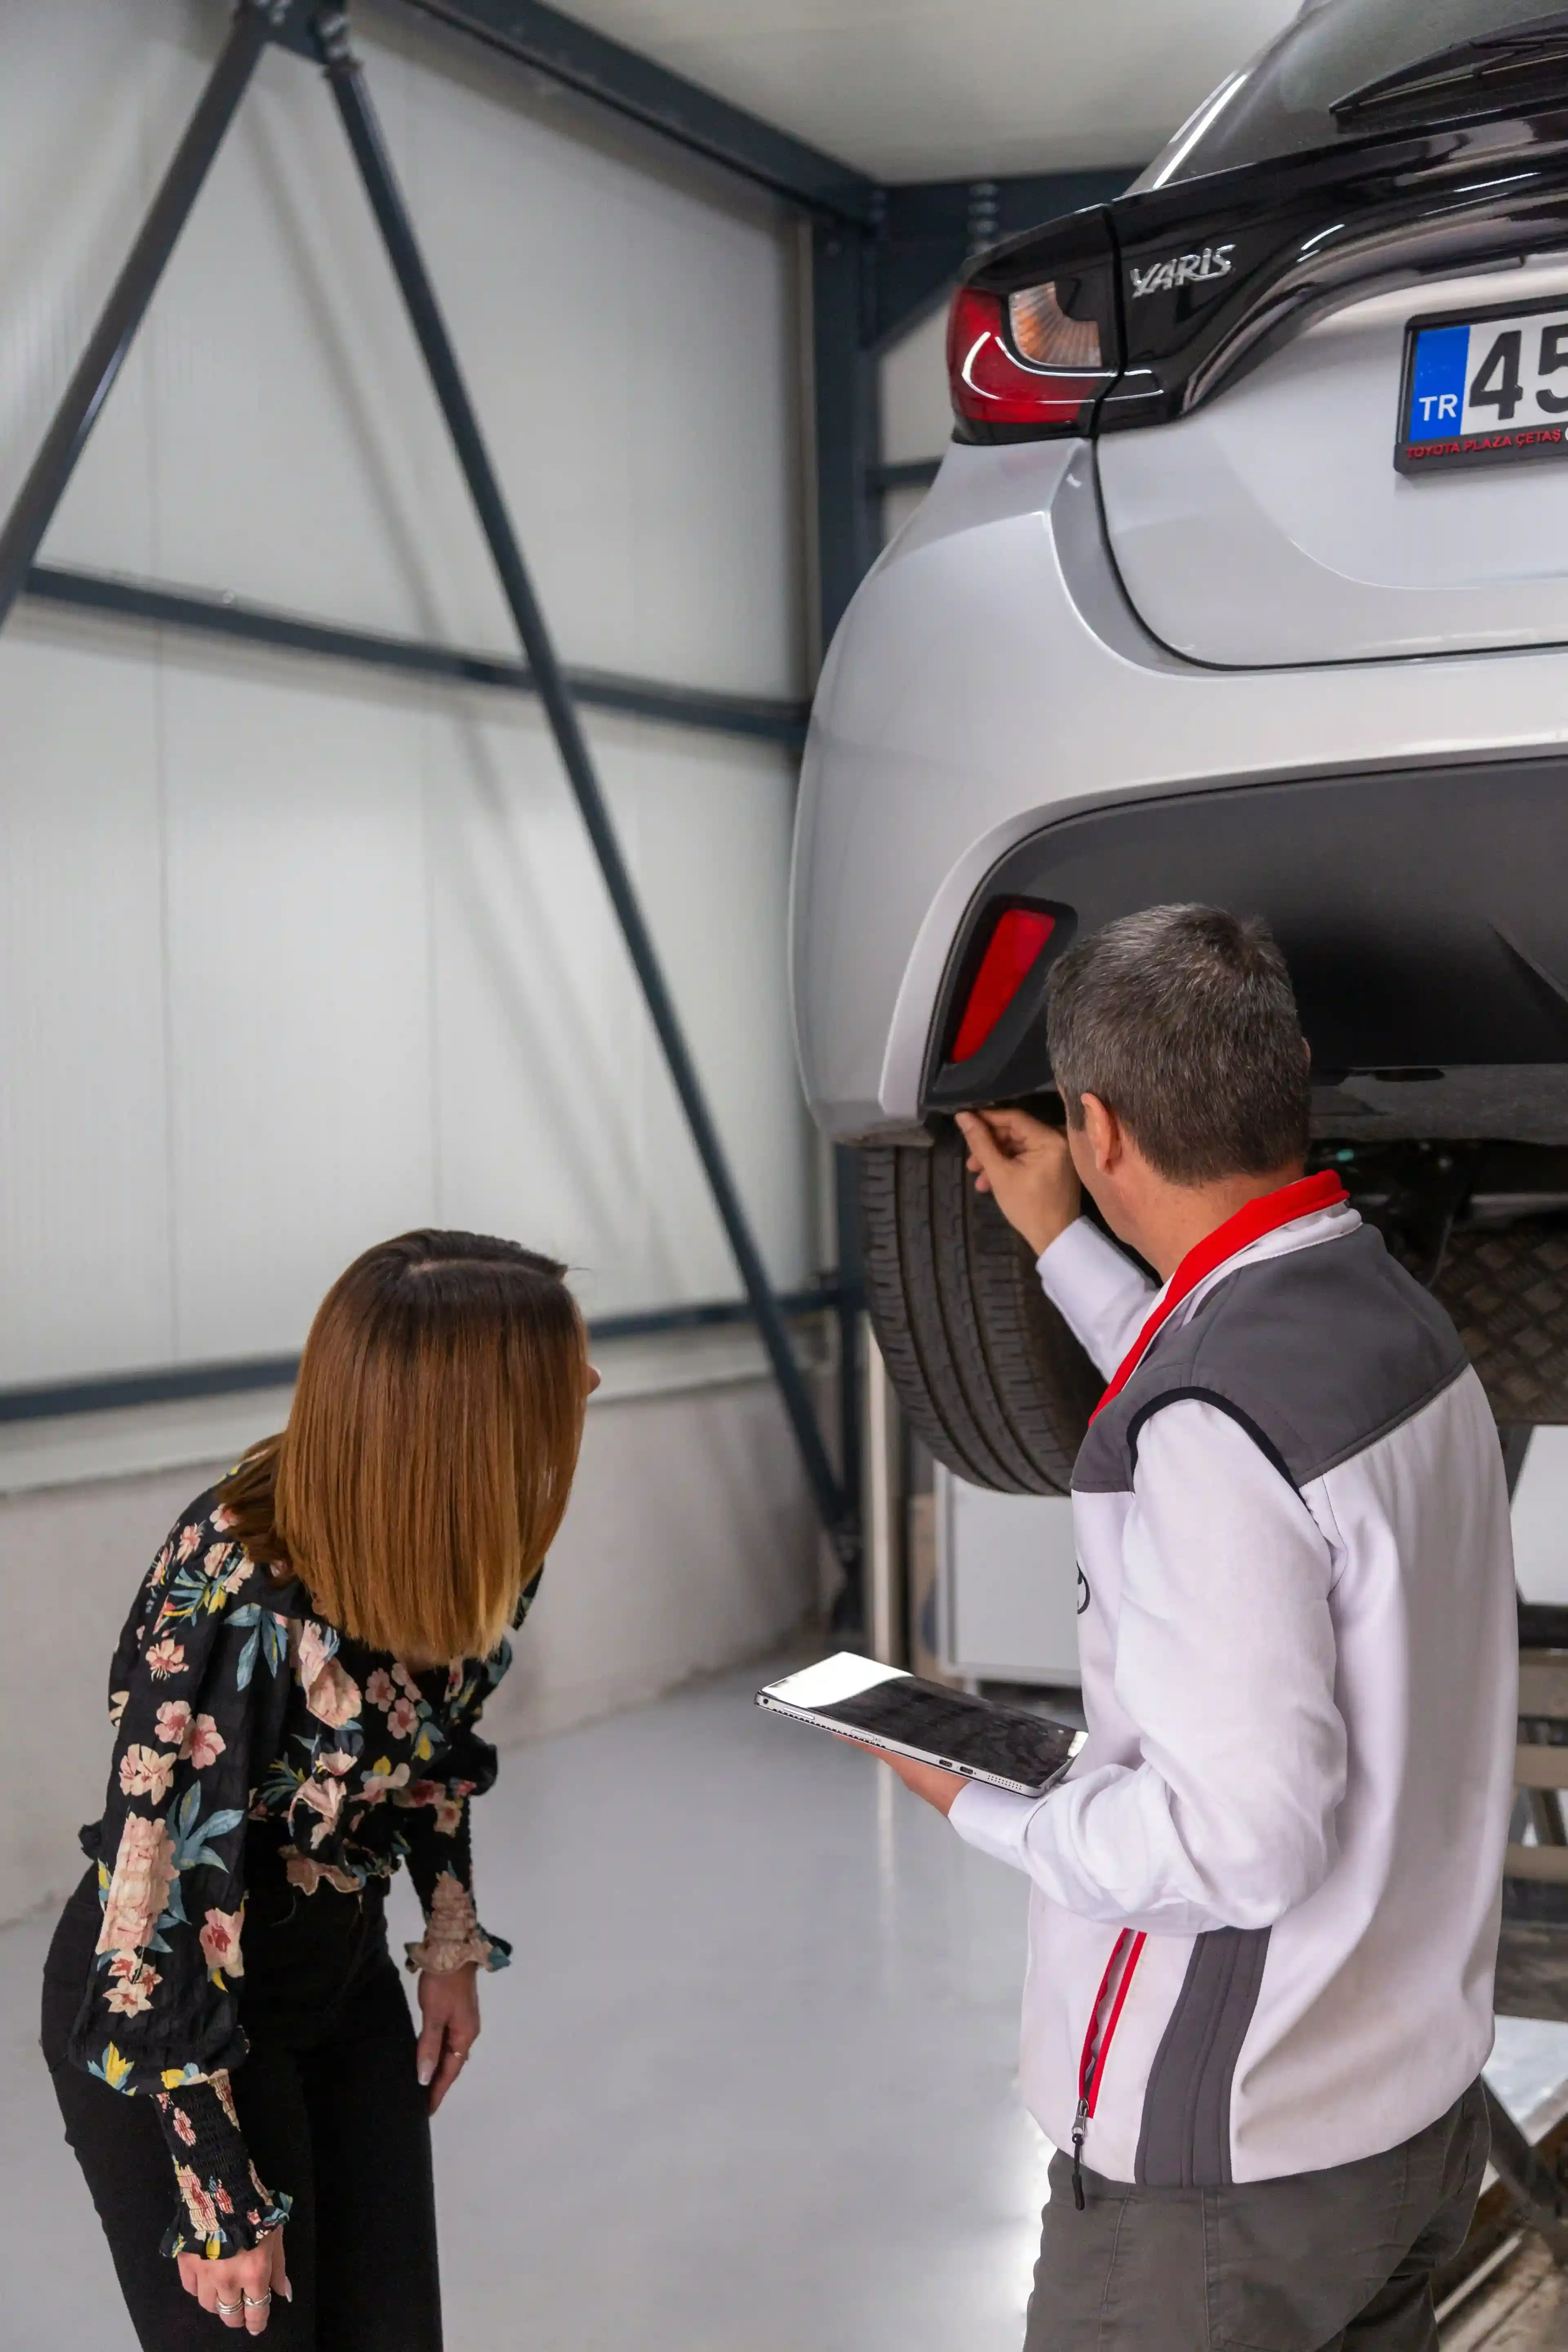
How to Approach the Interior Inspection
What to bring: A flashlight and your phone for documentation.
The sequence: Top to bottom, outside in — headliner, dashboard, door panels, seats, floor, storage compartments. This prevents doubling back and ensures nothing is skipped.
The rule on electronics: Test everything before negotiating anything. A power window motor costs $200–$400. An airbag control module costs $500–$1,500. An infotainment system replacement costs $800–$3,000. These are not rounding errors in the offer — they are line items.
The rule on condition: Interior wear that is more advanced than the listed mileage predicts is an odometer fraud indicator. Multiple worn high-contact surfaces on a low-mileage vehicle is one of the most accessible non-technical fraud checks available.
Time required: 25–35 minutes for a thorough inspection.
Section 1: Flood Damage Indicators
Direct answer: Before evaluating anything else, run three flood damage checks — the solar soak smell test, the seat rail audit, and the carpet padding inspection. These take five minutes and target surfaces that professional detailing cannot reach. A positive finding on any of them changes the character of the entire inspection.
Full flood detection protocol is in the flood damage inspection guide. The three checks below are the minimum on every interior inspection.
The Solar Soak Smell Test
Close all doors and windows. Leave the car in direct sunlight for ten minutes. Open the door and smell the escaping air. Mildew, must, or a chemical fragrance that smells like it is masking something are all disqualifying without further investigation. Professional enzyme treatment suppresses mold odor temporarily — the solar soak concentrates volatile compounds that bypass surface-level treatment.
The Seat Rail Audit
Slide both front seats fully forward. Examine the metal seat track rails on both sides with a flashlight. A detail job cannot reach this location. Clean painted or bare metal means no flood history. Rust, white mineral deposits, or orange-brown corrosion means water reached these tracks and sat.
The Carpet Padding Check
Pull back each floor mat — driver front, passenger front, driver rear, passenger rear. Look at the carpet padding beneath. Healthy padding is soft and neutral-colored. Flood-affected padding is stiff, discolored to brown or grey, or shows a visible waterline. While the mats are up, check the carpet itself for staining, wear, or waterlines the mats were placed over.
Section 2: Dashboard Warning Lights — The Bulb Test
Direct answer: Turn the ignition to the accessory position — one click before starting — and watch the dashboard. Every warning light should illuminate briefly as a self-test, then clear when the engine starts. A light that fails to illuminate during the self-test has likely had its bulb removed to hide an active fault. A light that stays on after startup indicates an active system fault.
This is The Bulb Test — among the most commonly skipped checks in a used car inspection, and one of the most revealing.
Warning Lights and What They Mean
Check Engine (MIL): Covers hundreds of possible codes — from a loose gas cap to a failing catalytic converter ($1,500–$3,000). A check engine light that stays on requires OBD2 diagnosis before purchase. "It's just a sensor" without a specific written diagnosis is not an acceptable response.
ABS Warning Light: A fault in the anti-lock braking system. ABS prevents wheel lockup during emergency braking — a failed ABS system means normal braking in dry conditions and compromised braking on wet or slippery surfaces. Repairs range from $150 for a wheel speed sensor to $800 for an ABS module.
SRS / Airbag Warning Light: The most critical warning light on the dashboard. A persistent SRS light means the supplemental restraint system has an active fault — which may include a deployed airbag whose module was reset rather than replaced, a fired seatbelt pretensioner never serviced, or a failed clockspring. Any of these means the airbag system may not perform correctly in a future collision. Repairs cost $1,000–$3,000 depending on what was deployed.
TPMS Warning Light: Low tire pressure or a failed sensor. Inflate all four tires to spec and recheck — if the light stays on, a sensor has failed. TPMS sensor replacement costs $50–$150 per wheel.
Battery / Charging Warning Light: Alternator or charging circuit failure. A dead alternator leaves you stranded within hours — the battery alone provides only a brief buffer.
The SRS Light — Three Causes That Cannot Be Dismissed
If the SRS light stays on, the three most common causes in a used car context are each a serious finding:
Improperly reset airbag module: After deployment, modules can be reset with a scan tool to turn off the light — but the deployment record remains and a fault code persists. This means the airbag system was in a collision and received a shortcut repair rather than a replacement.
Clockspring failure: The coiled electrical ribbon inside the steering column maintaining the horn and airbag circuit. A failed clockspring disables the driver's airbag and horn — cost to repair $200–$400.
Unfired seatbelt pretensioner: Pretensioners fire once in a collision and must be replaced. A pretensioner that fired and was never replaced means your seatbelt will not restrain you correctly in a subsequent collision.
Section 3: Airbag and Accident Evidence
Direct answer: Inspect the steering wheel center, passenger dashboard panel, headliner at door edges, and front seat outer bolsters for evidence of airbag deployment. Deployed airbags leave physical traces — replacement covers that do not match surrounding materials, inconsistent stitching, or headliner sections that were pulled down and reattached.
Steering Wheel Center Pad
The driver's airbag deploys from the center of the steering wheel. After deployment, the center cover is replaced. Check: does the material, color, and texture match the rest of the wheel exactly? Does the seam around the pad edge look factory-uniform? Press lightly — a factory pad has a specific resistance that a snapped-on replacement may not replicate.
Passenger Dashboard Panel
The passenger airbag deploys from the upper dashboard panel on the passenger side. Check: does the panel material match adjacent surfaces? Is the seam consistent with other dashboard panel seams? Some panels carry a subtle embossed "SRS AIRBAG" marking — verify its texture is consistent with the surrounding panel.
Headliner and Seat Bolsters
Side curtain airbags deploy from the ceiling liner above the doors. Seat-mounted side airbags deploy from the outer bolster of front seats. Look for headliner sections near door openings that have been reattached — visible glue residue, uneven edges, or a section pulled loose and re-glued. On the seats, a bolster with different stitching pattern, fabric texture, or color than the rest of the seat indicates replacement after side airbag deployment.
Section 4: Wear Consistency and Mileage Validation
Direct answer: Interior wear accumulates in direct proportion to actual use, regardless of what the odometer displays. Compare the wear on high-contact surfaces against the listed mileage — significant inconsistency is one of the most accessible indicators of odometer fraud available without diagnostic tools.
The High-Contact Surface Check
Driver's seat cushion and bolster: Sit in the driver's seat. The cushion should retain its shape and resist compression at low mileage. A cushion that bottoms out — where you can feel the seat pan through the material — has been sat in far more than the odometer suggests.
Normal driver's seat wear benchmarks:
- Under 30,000 miles: Minimal wear on bolsters and seat base
- 30,000–70,000 miles: Light bolster wear, slight steering wheel grip polishing
- 70,000–120,000 miles: Visible bolster compression, steering wheel grip zones clearly worn, driver's floor mat compressed
- Over 120,000 miles: Significant bolster wear, steering wheel leather cracked or polished smooth
Steering wheel grip zones: Factory leather or urethane wears at the 9 and 3 o'clock positions. Light polishing by 60,000 miles, texture mostly gone by 100,000 miles. A smooth steering wheel at 45,000 listed miles has been gripped far more than that.
Armrests: Both the driver's door armrest and center console armrest accumulate wear in proportion to time spent driving. Heavy compression or material degradation at low listed mileage is a specific inconsistency worth documenting.
Shift knob and gear selector surround: The shift knob polishes with use. A polished shift knob alone is a minor indicator — multiple polished high-contact surfaces together form a pattern that warrants cross-referencing against the vehicle history report's mileage records.
Signs of Vehicle Abuse: How to Tell If a Used Car Was Driven Hard
Driving patterns leave hidden wear. Learn to spot signs of hard use, neglect, or mods using physical clues and VIN history before buying.
Section 5: Material Condition
Direct answer: Assess each interior material type for damage, degradation, and evidence of replacement. Replaced materials may indicate concealed damage rather than cosmetic improvement — the question is always why a material was replaced, not just whether it was.
Leather and Leatherette
Inspect for cracking and dryness (light surface cracking is cosmetic; deep cracking exposing foam beneath is a repair item at $800–$2,000 per seat to reupholster), color fading or variation (non-uniform fading on a single seat suggests replacement of one section), and aftermarket dye (a dyed surface has a different sheen from the original — run a finger firmly across a suspect area, dye sometimes transfers under pressure).
Most importantly, examine stitching: factory stitching is uniform in thread color, stitch spacing, and tension across the entire seat. Replacement upholstery stitching — from airbag repair, flood remediation, or cosmetic refurbishment — is often subtly different in one or more of these characteristics.
Cloth Upholstery
Cloth shows wear through pilling, weave flattening, and staining. Pilling appears first on the driver's seat base and inner bolster — light by 50,000 miles, heavy by 120,000+. A cloth seat section noticeably lighter or darker than adjacent sections may have had a cover replacement or disproportionate cleaning.
Check for seat covers — an aftermarket cover over original upholstery conceals the condition beneath it. Ask why the cover is present and request to see the seat beneath before purchasing.
Hard Plastics and Trim
Dashboard and door panel plastics show UV degradation (chalky, faded surface on top-of-dash and upper door trims), normal wear scratching (driver's knee bolster, door sill scuffs), and impact damage. Scratching on surfaces that do not contact the occupant — the passenger dash face, rear seat backrests — indicates either carried objects or collision force reaching the interior. Multiple broken trim clips along a door panel edge suggest the panel was removed and reinstalled.
Cargo Area
In SUVs, hatchbacks, and wagons: lift the cargo area carpet or floor panel. Staining, cargo damage, and flood evidence — waterlines, stiff padding — in the cargo area are frequently overlooked. This is where animal transport, contractor use, and flood damage leave their clearest evidence.
Section 6: Electronics and Systems Test
Direct answer: Test every electronic system before concluding the interior inspection. Budget 10–15 minutes. Any malfunction discovered after purchase is entirely your cost.
The Complete Electronics Test
Power windows: Each window fully up and down from the door switch, then all windows from the driver's master switch. Slow or hesitant windows indicate motor wear, regulator failure, or moisture-related wiring resistance. Each motor: $200–$400 to replace.
Central locking: Lock and unlock from every door switch and from the key fob. Intermittent locking failure on one door indicates a failing actuator or wiring fault at that door.
Mirrors: Fold, unfold, and adjust both exterior mirrors in all directions. Motor failure: $150–$300 per mirror.
Climate control: All fan speeds, heat, air conditioning, front and rear defrost, all temperature settings, recirculation mode. The HVAC on a flood car retains moisture in the evaporator housing — a functioning system that blows musty air on recirculation mode is a flood indicator even if the visible flood checks were clean.
Audio and infotainment: Display function, all audio inputs (radio, Bluetooth, USB, CarPlay/Android Auto), all speaker channels. Infotainment replacement: $800–$3,000.
Backup camera: Clear image, no internal fogging or condensation, correct orientation. A sealed camera housing should never have internal condensation.
Heated and cooled seats: Both front seats produce heat within 60 seconds if equipped. Element failure: $200–$500 per seat.
Sunroof: Full range — open, tilt, and close. Motor failure: $300–$800. Also examine the drain channels at the sunroof corners — clogged drains allow water into the headliner. A damp, sagging headliner near the sunroof opening is a drain failure indicator.
Horn: Test it. A non-functioning horn is the clockspring failure indicator — the same component that, when failed, disables the driver's airbag circuit and triggers the SRS light.
Section 7: Odor Assessment
Direct answer: Assess interior odor through the solar soak (already conducted in Section 1) plus a dedicated HVAC test targeting ductwork odors that surface cleaning cannot reach.
The Four Interior Odors That Matter
Mildew or must: The definitive flood damage signal. Mildew odor returns in warm weather even after professional treatment because the source — in seat foam, carpet padding, or headliner backing — was not eliminated. A chemical smell intended to mask an underlying odor is the same finding by another name.
Tobacco smoke: Smoke residue in the headliner, seat foam, carpet, and ductwork is the most persistent interior odor. Run the HVAC on recirculation at maximum heat for two minutes — this releases residue from the evaporator housing that surface treatment cannot reach. Also examine the headliner under a flashlight for a faint yellow-brown patina near the dome light area, and look at the interior windshield glass in raking light for the filmy smoke residue that deposits on glass. Professional remediation costs $200–$500 and rarely fully eliminates the odor.
Pet odor: Dander embeds in cloth upholstery, carpet, and HVAC filters. Persistent beyond surface cleaning, returns in warm weather. Check the cargo area of SUVs specifically.
Chemical masking agent: Enzyme spray, ozone treatment, and mold inhibitor each have identifiable chemical signatures. A car that smells aggressively of chemical treatment has had something treated. The question is what.
Section 8: Headliner, Fit, and Finish
Direct answer: Examine the headliner for sagging, staining, and reattachment — each is evidence of water ingress, airbag deployment, or prior disassembly. Examine interior panel gaps and trim alignment for the same reason: factory assembly is consistent throughout; reassembled interiors show gaps, misalignment, and incompletely seated clips.
Headliner Inspection
A factory headliner is smooth, taut, and uniformly colored. Look specifically at:
Around the sunroof opening: Sagging, staining, or discoloration in a roughly circular pattern indicates drain blockage and water ingress. Repair requires headliner removal: $300–$600 plus drain clearing.
Along the upper door edges: The headliner edge is tucked under trim at each door opening. Glue residue, uneven edge alignment, or a section that has been pulled down and reattached indicates side curtain airbag deployment or flood remediation at this location.
Overall surface: Broad sagging indicates heat damage, age, or moisture penetration. Headliner replacement: $200–$600.
Interior Panel Gap Check
Look at gaps between adjacent trim panels — between the dashboard and A-pillar trim, between the A-pillar and headliner edge, between the rear seat backrest and parcel shelf. Factory assembly produces tight, consistent gaps. Panels removed and reinstalled show gaps wider at one end, trim clips partially engaged, panel edges not flush, and tool marks at pry points along trim edges.
Storage Compartments
Open every storage space — glove box, center console bin, all door pockets, rear seat storage. A surface detail job frequently skips these. What you find inside tells a different story: debris accumulated over years in a car represented as low-mileage, wear inconsistent with the stated history, and occasionally unsolicited documentation — receipts, registration papers, service records — left by previous owners.
A completely empty glove box on a car supposedly maintained by one careful owner for several years is a sign that documentation was removed before the sale.
Section 9: Refurbishment Detection
Direct answer: Identify interior refurbishment — repair or replacement made before sale to conceal prior damage — by examining material transitions, hidden surfaces, and work quality consistency. Factory assembly is uniform throughout. Refurbishment, regardless of quality, introduces variations at material boundaries.
Carpet replacement indicators: A slightly different texture or pile direction from factory, color variation that does not match the faded original, exposed edges under door sills where factory carpet was precisely trimmed and the replacement was not, and fresh adhesive smell in an otherwise aged interior.
Headliner reinstallation indicators: A wavy or bubbled surface where adhesive was not applied uniformly, an edge not fully tucked under perimeter trim, glue residue at the headliner perimeter, and potential color or texture variation if the replacement was not an exact factory match.
Upholstery replacement indicators: Inconsistent stitching across a seat (covered in Section 5), dye transfer under pressure, and headrests that do not match the seat in material or stitching. Any aftermarket seat cover should be treated as a concealment indicator until the condition beneath it is verified.
What to Do With Your Findings
The Three-Tier Framework
Safety findings — a persistent SRS light, deployed airbag evidence, flood damage indicators — are not negotiating points. They are conditions that must be diagnosed and repaired before the vehicle is acceptable, or they are walk-away events. Require a written diagnosis from a qualified mechanic, not verbal assurance.
Significant condition findings — tobacco odor requiring remediation ($200–$500), cracked leather requiring reupholstery ($800–$2,000 per seat), inoperative electronic systems ($150–$3,000 per system), damaged trim panels ($100–$400 per panel) — are quantifiable costs. Get estimates before negotiating. Present estimates as factual data, not complaints.
Minor condition findings — normal wear consistent with mileage, light surface scratching, minor staining — are priced into a fairly listed vehicle. They become negotiating points only if the asking price does not reflect the condition honestly.

Car Negotiation Scripts: Word-for-Word Lines That Could Save You Money
Car negotiation scripts for real scenarios. Learn exactly what to say, using facts like VIN reports and inspections to keep leverage on your side.
The Pre-Purchase Inspection: The Best $150 You Will Ever Spend
A pre-purchase inspection (PPI) is a mechanic’s check before buying. It reveals hidden issues and is the highest-value step to avoid costly surprises.
Complete Interior Inspection Checklist
Work through this during the inspection. Note findings for negotiation.
Flood Damage
- Solar soak smell test — no mildew, must, or masking chemicals
- Seat rail tracks — no rust or mineral deposits
- Carpet padding under all four mats — soft, neutral-colored, no waterlines
- Cargo area floor — lifted and inspected
Warning Lights (ignition to accessory)
- All warning lights illuminate during self-test
- All warning lights clear at engine start
- SRS airbag light — off after startup
- ABS light — off after startup
- Check engine light — off after startup
Airbag Evidence
- Steering wheel center pad — material and seam consistent with wheel
- Passenger dashboard airbag panel — consistent with adjacent surfaces
- Headliner at door edges — no reattachment evidence
- Front seat outer bolsters — stitching consistent across each seat
Wear Consistency
- Driver's seat cushion — shape and support appropriate to mileage
- Driver's seat bolster wear — consistent with listed mileage
- Steering wheel grip zones — wear consistent with listed mileage
- Armrests — wear consistent with listed mileage
Material Condition
- Leather/leatherette — stitching uniform, no deep cracking, no dye evidence
- Cloth — pilling consistent with mileage, no inconsistent shading
- Plastics — no impact damage beyond normal wear
- All floor mats lifted, carpet beneath assessed
- No seat covers concealing upholstery condition
- Headrests match seat material and stitching
- Cargo area carpet lifted and inspected
Electronics
- All power windows — up and down from each switch and master
- Central locking — all doors from all switches and key fob
- Both exterior mirrors — fold, unfold, all adjustment directions
- Climate control — all fan speeds, heat, A/C, defrost, recirculation
- Audio and infotainment — display, all inputs, all speakers
- Backup camera — clear, no condensation
- Heated/cooled seats — heat produced within 60 seconds
- Sunroof — full range, drain channels checked
- Horn
Odor
- HVAC recirculation test — no tobacco, pet, or mold odor from ductwork
- Headliner surface — no yellow-brown patina
- Interior glass — no smoke residue film
Headliner, Fit, and Finish
- Headliner — smooth, fully attached, no sunroof area staining
- Interior panel gaps — consistent throughout
- No tool marks on trim panel edges
- All storage compartments opened and contents noted
- Glove box documentation status noted
Refurbishment
- No carpet color variation or exposed edges at door sills
- Headliner edges fully tucked, no glue residue at perimeter
- No fresh adhesive smell inconsistent with vehicle age
Frequently Asked Questions
How to Inspect Used Car Tires: The $1,000 Negotiation Chip Most Buyers Ignore
Used car tires reveal wear, driving habits, and hidden issues. Learn how to read them and use that insight to negotiate price effectively.